chinaphiliDIY // Mouse Pad
Hello Everyone!
I hope your 2017 has been okay so far, I've been putting this little project off but I decided to finally get this done. I've been needing a mouse Pad for a while and I've wanted a marble patterned one just because I love marble, but it's not as easy to find as I thought and it's pretty expensive on Etsy, so I thought I'd just make one myself.
Of course, I decided not to do a marble pattern because finding marble patterned paper is difficult as well, so I opted for the next best thing which was shimmery-glittery paper!

Just picked one from a stack of card stock I had!
So I've plenty of cardstock at home and I thought I'd pick one from this set of pearly cardstock. I think you can use normal paper, but if it was of the thicker sort, it would be good so it won't crumple when you add the glue.

You will also need a corkboard! I got mine from Art Friend!

You'll also need glue, a penknife, and a cutting mat.
I realised that double sided tape wasn't very effective, so I chucked it aside! I realised that liquid glues would work a lot better as compared to solid glues. You can use a hot glue gun or super glue or art glue as well I suppose!

First Step: Trim your corkboard
I decided to just trim the little sheet of corkboard down just to fit a perfect rectangle, you can always trim it down to however you like! I figured a circle would be pretty cool as well, but I settled for a rectangle

Cleaning up messy-ness with a roll of masking tape!

Step 2: Stick the paper!
So I picked out the lavender piece. I originally wanted to pick out the baby pink or gold ones but I seemed to have used them all up which kinda bummed me out. I didn't want to get another type of cardstock so I just picked the next best colour!

Put glue all over the corkboard!

Add some weight!
I just chucked it under my laptop to stick and dry for about 15 minutes. I doubt you actually need that long unless you're using craft glues like modge podge that may take a bit longer to dry.

Trim off excess!

Time to customise!
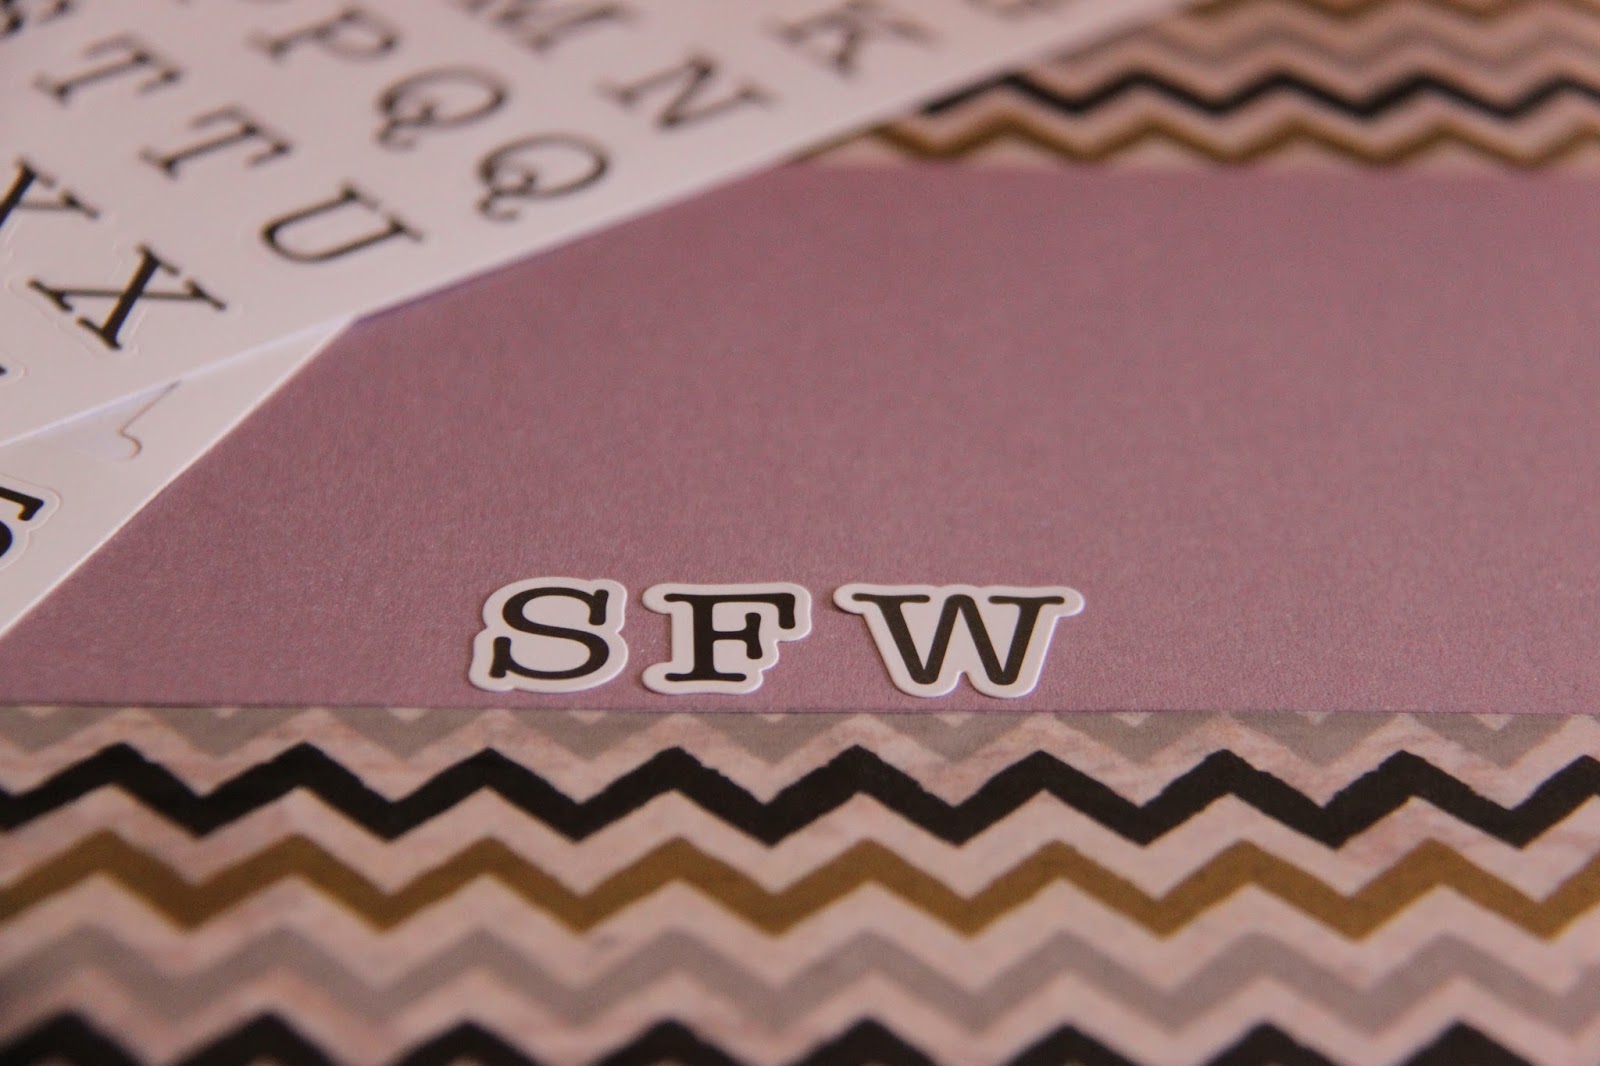
I just stuck my initials with these simple stickers at the corner of the mouse pad! I didn't want to create and uneven surface on the mouse pad so the top bit is really really plain. However, I did make the bottom side pretty!


Tada!!
I stuck the excess of the cardstock at the back of the pad and just added assorted washi tapes and added my initials on it again! I like how that turned out! I realised that my mouse still works effectively on this surface but I didn't really fancy how it glided on the little bumps created by the stickers and the difference of thickness between the washi tapes and cardstock.

There we go!
This took very little time to do, which is really great! I love how this turned out and I won't have to worry about using my mouse on glass surfaces any more!
I hope you guys enjoy this little DIY, I know it's pretty simple and pretty brainless but I thought it would be fun to share it with you! I hope Janurary has been treating you very well and I'll see you in my next blogpost!
xx
Shayne