Rainbow Eyes Tutorial
Hi Everyone!
School has been pretty crazy lately and what I'd like to call 'Hell Month' has begun to hit us full swing. I have a little bit of time and I was trying out a few things with my make up in preparation for tomorrow's agenda and I decided to do a little blogpost.
If you've been to my website of facebook page, you would have seen my water photoshoot with Sufi Sufyan. It was the most recent shoot I've done and Sufi had this idea of doing up really crazy and colourful make up. I usually do my own make up when I can because I just prefer to so that was my first time and it came out pretty well so I thought I'd show you guys how I achieved it!
I would say this was one of the most elaborate looks that I've done and although it's not something that's very 'me', I'd say that I liked what I came up with and hopefully you guys do too! This look is pretty time consuming so this post will be pretty long so bear with me!
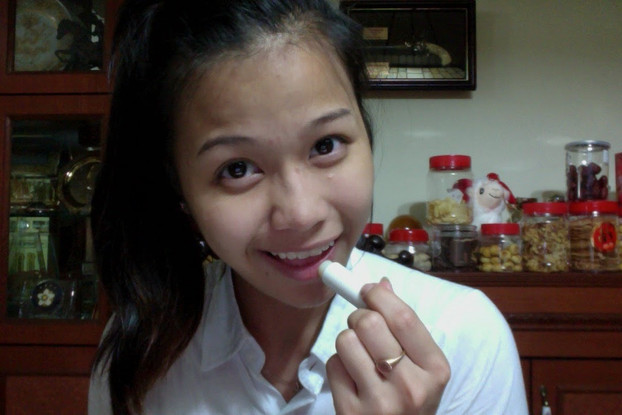
I'm using Fresh's SUGAR Advanced Therapy Lip Treatment here because I'm not going to do anything to my lips. Also, I really like the 'taste' of this. I think all their lip treatments pretty much smell and taste the same, but they're really really lovely on the lips! I feel it does have a better moisturising power than my EOS lipbalms, but I still love them.
I repurchased this recently and I got the mini version of the Fake Up concealer (which I will use later) and I thought that was pretty cool. I don't know if the offer is still on though. I've said it before that this is probably my favourite primer, it doesn't leave my skin feeling clogged and it's lightweight and it definitely makes my skin feel soft and looking flawless!
So I don't think I've talked about Benefit's Erase Paste for a long time. I think I've underused it because just that tiny tiny bit under my eyes (if you can even see them) are all you need. There are pink-ish undertones to this and that really brightens up your eyes. It is a little thick (hence, paste) but it does stay on for the whole day.
As for the Fake Up concealer stick, I love how this gives good coverage and its moisturising power as well, it makes it easy to blend and it doesn't cake up my skin as well. The mini one is almost running out so I may have to pop by Sephora to grab a new one soon. This is definitely a fave when I go on shoots!
I think I went a little overboard this time, just note that a little goes a long way. For this look I blended the primer all the way up to the browbone, just below by eye brows because there is a whole lot of eyeshadow that's gonna be there.
I can't remember if I've ever talked about this on my blog before, maybe I did but way way back. I think there's a Vice Palette V3 now or something, I could be wrong. I think I got this just over a year ago or so and it's been serving me pretty well. I've somehow managed to make use of every single colour at least once and I think that's pretty awesome because I rarely wear eyeshadow. All the colours in this look were from this palette!
So, just for the reference, these were the colours I used (in order):
Vice >> Noise >> Penny Lane >> Blitz >> Provocateur >> Unhinged
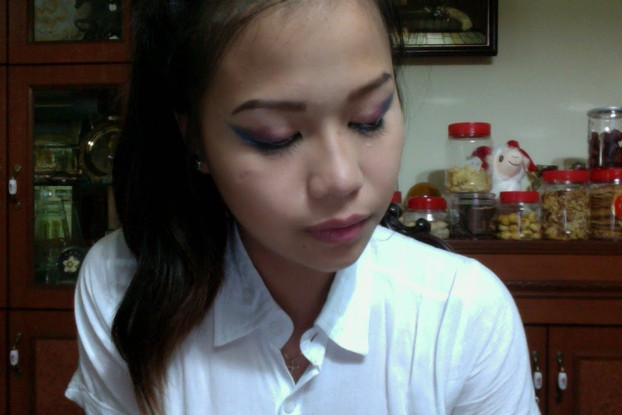
This is a pretty deep metallic purple. It does come off pretty pigmented as most metallic shadows do. With the given brush, I dabbed on some of this colour onto the outer corners of my eyes, making a slight wing shape as well. I started from the outer 1/3 of my eyelid then worked my way outwards.
This shade is a metallic hot pink with little gold glitter specks in it. The colour itself applies on pretty well but the gold glitter rarely stays on. Sometimes it doesn't even show so that's a little disappointing. For this colour, I pretty much covered the rest of my lid, giving a little free room and the inner corners for the next colour. I slowly blended this and the purple together.
Penny Lane is a bronzy-gold shimmer colour, I love the sparkle it gives to the look and for a shimmer, it does stay very well, but thats all thanks to the eyeshadow primer! For this colour, I basically used it in the inner corners of my eyes and blended this with the pink especially at the crease of the eyelid.
Blitz is a lighter gold shimmer, I definitely like the bronze shade more but this is pretty too! This is where you can start using a smaller brush because you're going to use the next few colours at the bottom of your eyes, and mostly the waterline. I used this colour at the inner corners then work my way to about 1/3 of my eye.
This one's a muted pink shimmer/glitter, I somehow feel that the glitter specks in this shadow is bigger so it doesn't stick to the skin as well as the other colours do. It does look pretty on its own too because the colour isn't too extreme. I applied this along the rest of my waterline. Sadly, it doens't seem to show too well on my camera ):
This is the final eyeshadow, which is a nice aqua blue shimmer. I first tightlined the outer corner of my eyes with a blue eyeliner, not sure where I got mine from to be honest and then blended it with the eyeshadow. The eyeliner that I used was pretty creamy so the blue shadow sat very well with it.
I think I got this (and another gold one) when I was helping my friends do their make up for their dance competitions. I guess it's a good thing they came in handy once again. I don't really like how these take forever to dry up but at least they do look pretty in the end.
I have quite a few lashes lying around in my eyelash case so I can't remember what these were but I quite like them. They're pretty long but they aren't too heavy like some of the lashes that I've had to use in previous shoots. I quite like the glue (and the clippy thing) from Ardell, it does smell a little funky but it dries pretty fast. This one comes off white but dries transparent!
I've been using this method for a month or so and I realised how much better my brows look. I've never been too confident with using brow powder because of the ends of my brows but now that I've managed to device this method, I don't want to do it any other way.
What I do is draw the outercorners (aka the sharp ends) of my brows with the liquid brow liner then fill in the rest with the powder! it's really easy with the help of the angled brush and it doesn't make my brows look too crazy (like it has been for the past two years). Kinda wished I figured this technique sooner. Do any of you out there use the same technique I do? It'd be cool to find another person who does!
I've said it before and I'll say it again, the amount of highlighter I have may probably never go down and I'm not complaining. This is probably one of the best things ever and it's a massive recommendation to anyone who is looking for a nice highlighter.
My Stila Bronzer ran out recently and I thought I'd give Sephora products a go. It's been pretty alright so far, it does smell really pretty to be honest but it isn't as pigmented as the Stila one. On the other hand, this bronzer is buildable so I think I'd prefer it so that I have more control over the contouring process.
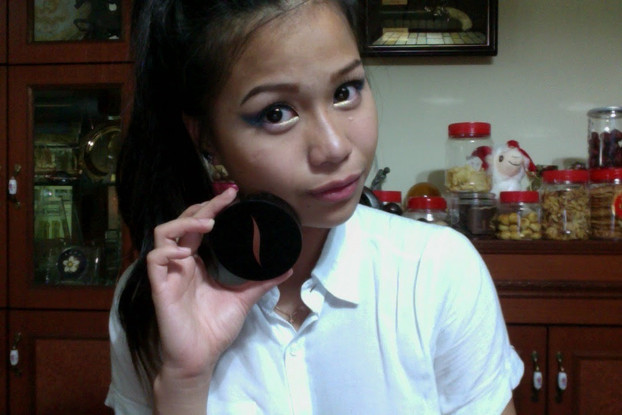
This is has been my go-to powder since I was in poly and I think that says something. I've not ventured to other compact powders and I don't think I'd ever want to because this has never failed me at all. I love how matte and smooth my skin looks after this and it does give a decent coverage without making my face feel like it could fall off.
Love. This.
I didn't do the setting spray since this wasn't a Get Ready With Me post and I'm just gonna remove it all after I'm done with the post. I hope you guys like this look and if you give it a try, do tag me on facebook or instagram or twitter and I'd definitely go take a look and give it a like! I've got to get back to doing school stuff now so I'll see you guys in my next post!
xx
Shayne
School has been pretty crazy lately and what I'd like to call 'Hell Month' has begun to hit us full swing. I have a little bit of time and I was trying out a few things with my make up in preparation for tomorrow's agenda and I decided to do a little blogpost.
If you've been to my website of facebook page, you would have seen my water photoshoot with Sufi Sufyan. It was the most recent shoot I've done and Sufi had this idea of doing up really crazy and colourful make up. I usually do my own make up when I can because I just prefer to so that was my first time and it came out pretty well so I thought I'd show you guys how I achieved it!
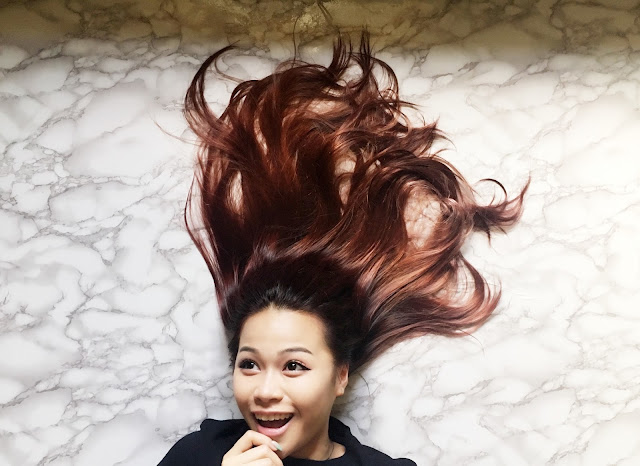
These are some photos that he took (including that candid one)
I would say this was one of the most elaborate looks that I've done and although it's not something that's very 'me', I'd say that I liked what I came up with and hopefully you guys do too! This look is pretty time consuming so this post will be pretty long so bear with me!
So let's start with a nice clean face!
Primer: Porefessional by Benefit
Conceal: Erase Paste by Benefit in No.2 (left)
and Fake Up by Benefit in Medium 02
So I don't think I've talked about Benefit's Erase Paste for a long time. I think I've underused it because just that tiny tiny bit under my eyes (if you can even see them) are all you need. There are pink-ish undertones to this and that really brightens up your eyes. It is a little thick (hence, paste) but it does stay on for the whole day.
As for the Fake Up concealer stick, I love how this gives good coverage and its moisturising power as well, it makes it easy to blend and it doesn't cake up my skin as well. The mini one is almost running out so I may have to pop by Sephora to grab a new one soon. This is definitely a fave when I go on shoots!
Eyeshadow Primer: Eyeshadow Primer Potion by Urban Decay in Original
I think I went a little overboard this time, just note that a little goes a long way. For this look I blended the primer all the way up to the browbone, just below by eye brows because there is a whole lot of eyeshadow that's gonna be there.
Eyeshadow Palette: Vice Palette
I can't remember if I've ever talked about this on my blog before, maybe I did but way way back. I think there's a Vice Palette V3 now or something, I could be wrong. I think I got this just over a year ago or so and it's been serving me pretty well. I've somehow managed to make use of every single colour at least once and I think that's pretty awesome because I rarely wear eyeshadow. All the colours in this look were from this palette!
So, just for the reference, these were the colours I used (in order):
Vice >> Noise >> Penny Lane >> Blitz >> Provocateur >> Unhinged
This is a pretty deep metallic purple. It does come off pretty pigmented as most metallic shadows do. With the given brush, I dabbed on some of this colour onto the outer corners of my eyes, making a slight wing shape as well. I started from the outer 1/3 of my eyelid then worked my way outwards.
Step 2: Noise
Step 3: Penny Lane and Blitz
Penny Lane is a bronzy-gold shimmer colour, I love the sparkle it gives to the look and for a shimmer, it does stay very well, but thats all thanks to the eyeshadow primer! For this colour, I basically used it in the inner corners of my eyes and blended this with the pink especially at the crease of the eyelid.
Blitz is a lighter gold shimmer, I definitely like the bronze shade more but this is pretty too! This is where you can start using a smaller brush because you're going to use the next few colours at the bottom of your eyes, and mostly the waterline. I used this colour at the inner corners then work my way to about 1/3 of my eye.
Step 4: Provocateur
This one's a muted pink shimmer/glitter, I somehow feel that the glitter specks in this shadow is bigger so it doesn't stick to the skin as well as the other colours do. It does look pretty on its own too because the colour isn't too extreme. I applied this along the rest of my waterline. Sadly, it doens't seem to show too well on my camera ):
Eyeliner: Fluidline Gel Liner by M.A.C in Blacktrack
For this, I just did a simple line instead of my usual flick/cat eye liner. I didn't want my eyeliner to overpower my colourful shadows so I just did a very basic line just so that my eyes looked more defined.
Glitter Liner: Glitter Liquid Liner from Daiso
I think I got this (and another gold one) when I was helping my friends do their make up for their dance competitions. I guess it's a good thing they came in handy once again. I don't really like how these take forever to dry up but at least they do look pretty in the end.
Falsies: Lash glue by Ardell
Eyebrows: Waterproof Brow Colour by Stila in Dark (top)
Eyebrow Colour Compact by Anna Sui in 02
What I do is draw the outercorners (aka the sharp ends) of my brows with the liquid brow liner then fill in the rest with the powder! it's really easy with the help of the angled brush and it doesn't make my brows look too crazy (like it has been for the past two years). Kinda wished I figured this technique sooner. Do any of you out there use the same technique I do? It'd be cool to find another person who does!
Highlight: High Beam by Benefit
I've said it before and I'll say it again, the amount of highlighter I have may probably never go down and I'm not complaining. This is probably one of the best things ever and it's a massive recommendation to anyone who is looking for a nice highlighter.
Bronzer: Bronzing Powder by Sephora in Medium
My Stila Bronzer ran out recently and I thought I'd give Sephora products a go. It's been pretty alright so far, it does smell really pretty to be honest but it isn't as pigmented as the Stila one. On the other hand, this bronzer is buildable so I think I'd prefer it so that I have more control over the contouring process.
Powder: Studio Fix Compact by MAC in NC30
This is has been my go-to powder since I was in poly and I think that says something. I've not ventured to other compact powders and I don't think I'd ever want to because this has never failed me at all. I love how matte and smooth my skin looks after this and it does give a decent coverage without making my face feel like it could fall off.
Love. This.
And that's it!
I didn't do the setting spray since this wasn't a Get Ready With Me post and I'm just gonna remove it all after I'm done with the post. I hope you guys like this look and if you give it a try, do tag me on facebook or instagram or twitter and I'd definitely go take a look and give it a like! I've got to get back to doing school stuff now so I'll see you guys in my next post!
xx
Shayne


Comments
Post a Comment