Sugar Spice Cookies + Edible Gift Ideas
Hello Everyone!
I hope you are all having a great December, I've been having a relatively eventful one and speaking of events, Christmas is just around the corner! I've bought some gifts and made some this year, and I thought I'd share the handmade gifts I did this year! The handmade items are all edible, so I thought I'd turn this into a recipe + edible gift guide!
Part I: Sugar Spice Cookie Recipe
Let's start with this recipe I came up with!
It's basically a twist on the good old sugar cookie. I got the original recipe from AllRecipes.com, but I changed it up quite a bit!
INGREDIENTS:
4 Cups Self-Raising Flour1½ Cups White Sugar
½ Teaspoon Salt
1 Teaspoon cinnamon powder
1 Teaspoon star anise
1 Teaspoon ground ginge
1 Cup Unsalted Butter - melted
1 Egg
½ Cup Natural Greek Yogurt
DIRECTIONS:
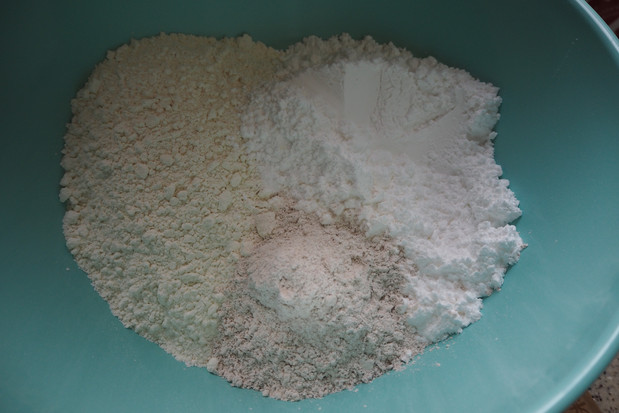
1. Combine all the dry ingredients in a bowl and make a well in the centre
2. Combine all your wet ingredients.
Make sure that the butter isn't too hot so that you so not cook the egg when you add it in!
3. Combine wet and dry ingredients until you get the dough!
4. Roll out your dough (about hald a cm thick) on a smooth surface and use your cookie cutter of choice!
Since it was a christmas-y thing, I decided to use a snowflake cookie cutter. I divided my dough into 4 so each quarter made about 12 of these cute snowflake cookies.
5. Chuck them in the fridge for about 15-20 minutes and pre-heat your oven!
I realised the cookies keep their shape better when they are baking after I've put them in the fridge to firm up. Also, I decided to make some ball-shaped cookies and I got 16 little ones out of one quarter!
7. Bake them for about 20 minutes or until the corners are golden brown.
8. Set them aside to cool, in the mean time, you can prepare the spiced icing!
INGREDIENTS:
1 Cup Icing Sugar
2 Mini Sticks of Cinnamon
3 Star Anise
1 Tablespoon Ground Ginger
5-6 Teaspoons Milk
Directions:
1. Put the spices and the sugar together in a food processort and blitz until combined.
2. Slowly stir in the milk, one teaspoon at a time, until you get a smooth consistency.
3. Decorate!
I decorated mine with toothpicks, I realised these were the easiest to use. The iceing gets a little thick the longer you leave it out so you may want to work quickly with this. The icing took about 15 minutes to fully set but you may still want to handle them with care if you're moving the cookies around. These do not dry like royal icing!
I decided to dip the round ones in some peppermint bits too!
Done!! ^^
Part II: Edible Gift Guide!
Cookies in a Jar and Hot Chocolate in a Jar!
I slowly packed the cookies into the jars. If you like these, they are easily available online, or at Tangs, Robinsons and Takashimaya! They do come in different sizes but I felt these were of the perfect size for gifting!
All you need is some twine, mesh and any material you like!
Basically, all I did was lay the material over the jar and used cut the mesh into thin strips and went around the mouth of the jar before adding the twine around it. I then finished it off with a bow!
I added a little tag to this one!
For the Hot Cocoa in a Jar, I stuck a set of instructions behind the jar. I got this idea from The Domestic Geek, she has so many wonderful edible gift ideas which you can try out! I gifted these to my girlfriends as well, but they had marshmallows instead of crushed candy canes! I'm gifting this at a gift exchange party on Monday so I hope whoever gets this would be very happy!
INGREDIENTS:
1 Cup Unsweetend Cocoa Powder
1 Cup Brown Sugar
1 Cup White Chocolate Chips
3/4 Cup Crushed Candy canes.
DIRECTIONS:
1. Shake Jar to combine ingredients
2. Bring 1 cup of milk to a boil
3. Add 1/5 of mixture and stir until combined
4. Enjoy!
That's all for today's blogpost, I hope you guys will have a great christmas and give these a go! I love the cookies very much (though star anise doesn't sit too well with my system) and I hope you guys will too! Don't forget to tag me on instagram or twitter if you give these a go! I have a pretty exciting Get Ready With Me post coming up soon as well so do look out for that! Till my next blogpost!
xx
Shayne


Comments
Post a Comment